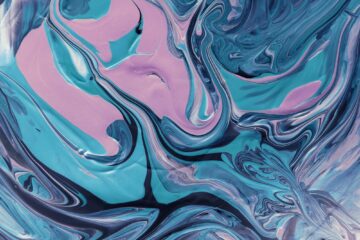
There are different acrylic pouring techniques. Each techique will create different patterns. The most interesting thing is that we will never know exactly how the painting will look, the results will always vary. In my opinion, this is what makes this art fantastic! Let's see below the acrylic pouring techniques.
- Dirty pour
- Dutch pour
- Flip cup pour
- Ring/swirl pour
- Funnel pour
- Open cup pour
- Ribbon pour
- Swipe pour
- Paint kiss pour
Acrylic pouring techniques
Dirty pour
This technique doesn’t mean it’s literally dirty. All colors are poured in the same cup and then poured over the surface.
First, prepare the colors separately in a cup for each one. Then apply them in layers in the same cup. When the cup is full, pour it over the surface gradually. Then move the canvas gently so the paint covers everything.

Dutch pour
This technique uses air to manipulate the paint on the canvas (or other surface). You can use a hair dryer, a straw, the exhalation or other utensil that blows the paint.
- First, you must apply the negative space, that is, the base color of the paint. White and black are used a lot, but you can apply another color.
- The next step is applying the paint to the surface. It can be a circle in the center, curves, one or more lines. Normally one color is poured on top of the other.
- You can blow negative space on top of the colors so they interact better, but this step is optional.
- Finally, blow out the ink and guide it where you want it to go.

Flip cup pour
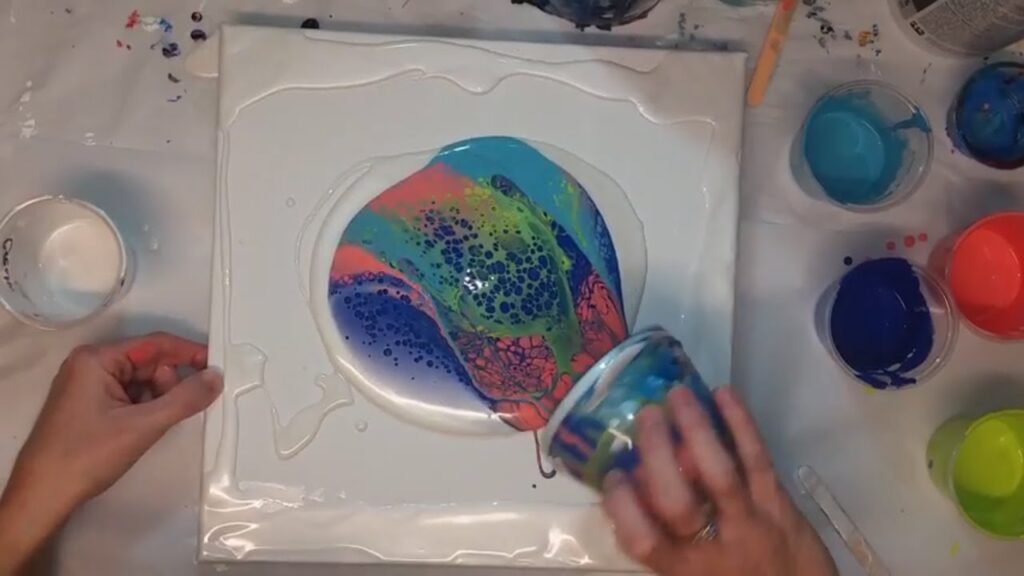
This technique is similar to the dirty pour. The difference is that in this acrylic pouring technique, you turn the cup over the canvas, instead of pouring the paint over it. Basically, you flip the cup face down on the screen and then take it out. When removed, the paint immediately starts spreading.
To make it easier, you can place the surface on top of the cup and then turn around and put the board down. Wait a moment and then remove the cup. If you turn the cup upside down on the surface, you must do it quickly, because the paint starts to fall out right away.
Ring/swirl pour
This technique is also similar to the dirty pour. However, this consists of pouring the paint in a circular motion, resembling tree rings or swirls. The paint should be poured slowly.
Funnel pour
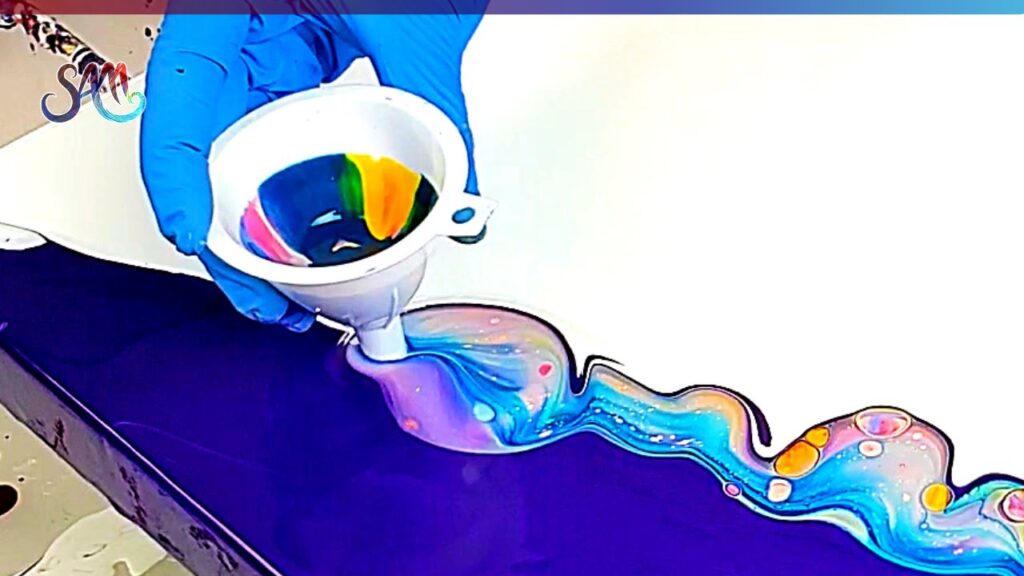
In this acrylic pouring technique, a funnel is used. Basically, you put the funnel on the canvas, press it down well so the paint doesn't spread too much and you start putting the paint inside the funnel, also in layers. Then remove the funnel little by little, tapping the screen. Do not withdraw at once.
Open cup pour
Here you use a cup without the base or, more simply, a circular cookie cutter. It is similar to the funnel technique, that is, you apply the paint inside the cookie cutter and then remove the utensil with a few light blows, to allow the paint to spread.
Ribbon pour
After layering the paint in the cup, pour it over the canvas, in zigzag lines or in any other way you prefer.
Swipe pour
In this acrylic pouring technique, you don't put different colors in the same glass. Each color is applied directly to the surface, usually in straight lines across the canvas. Attention, you must use silicone in this technique.
Then, with paper towel (or acetate), lightly push the paint from the first line (usually white or black is used) over the other colors. You should pass the paper towel very lightly over the other inks. As the paint from the first line passes over the other colors, cells open up, thanks to the silicone, creating a fantastic effect.
Paint kiss pour
In this technique, you apply the colors in two cups instead of one. Then the cups are placed side by side, as if they were “kissing”, and the paint is poured from both at the same time.
There are many other types of fluid art, but these are the main ones. Try each of them and have fun!
2 Comments
Rosangela Guimarães · 30/07/2024 at 18:29
Quero aprender
Passo a passo: o que é preciso para criar Arte Fluída? - Nadia Home Art · 18/04/2022 at 10:43
[…] Se quiseres saber mais sobre estas e outras técnicas, lê o meu artigo sobre técnicas de arte fluida. […]
Comments are closed.